
Cleaning your mattress doesn't have to be a monumental task. The secret is a simple routine: a thorough vacuum, some smart spot-cleaning for stains, and a good sprinkle of baking soda to freshen everything up. Sticking to this simple plan helps clear out allergens like dust mites and keeps your sleep space healthy and inviting.
Why Bother Cleaning Your Mattress?
We spend roughly a third of our lives in bed, yet it's easy to forget what's building up in the mattress beneath us. Over time, it becomes a hotspot for sweat, dead skin cells, dust, and all sorts of allergens. This isn't just an unpleasant thought; it can genuinely affect your health and how well you sleep.
Here in New Zealand, our sometimes-humid climate can unfortunately create an ideal home for dust mites and mildew. So, looking after your mattress is about more than just cleaning the odd coffee stain. A clean mattress is a cornerstone of a healthy home and a truly restful night.
The Unseen World in Your Bed
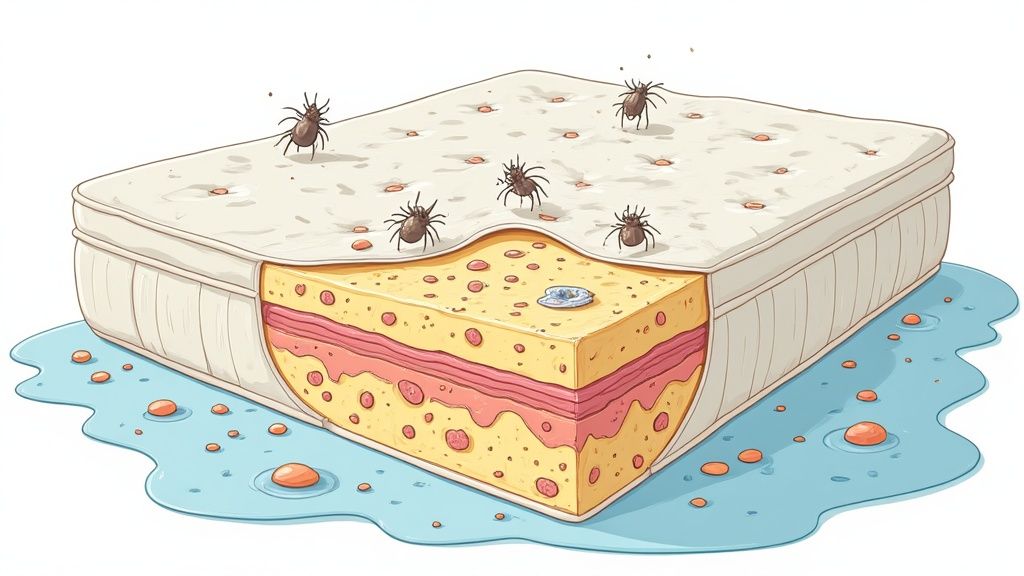
The slightly unsettling truth is that your bed is shared with millions of microscopic critters. Dust mites, in particular, thrive in the warm, humid environment of a mattress where they feast on the dead skin cells we all naturally shed.
It’s a bit shocking, but a typical ten-year-old mattress can be home to as many as 10 million dust mites. These tiny creatures are a major trigger for allergies, asthma, and other breathing issues that can disrupt a good night's sleep.
Regular cleaning is your best line of defence. Committing to a simple routine pays off in several ways:
- Better Air Quality: It reduces the allergens in your bedroom, helping you breathe easier all night long.
- Improved Sleep Hygiene: Nothing beats the feeling of a fresh, clean bed. It’s more inviting and contributes to deeper, more restorative rest. Our guide on enhancing sleep quality in New Zealand has more tips on this.
- Longer Mattress Lifespan: Preventing sweat and body oils from seeping deep into the materials helps stop the foam and fibres from breaking down prematurely.
Think of cleaning your mattress less as a chore and more as a reset button for your personal sleep sanctuary.
Your Mattress Cleaning Toolkit: What You'll Need
Before you start, gathering your supplies will make the entire process much smoother. The best part? You probably have everything you need in your cupboards already.
You can skip the expensive, specialised cleaners. We’re going back to basics with simple, effective household staples that are much kinder to your mattress fabric and your wallet.
The Core Cleaning Arsenal
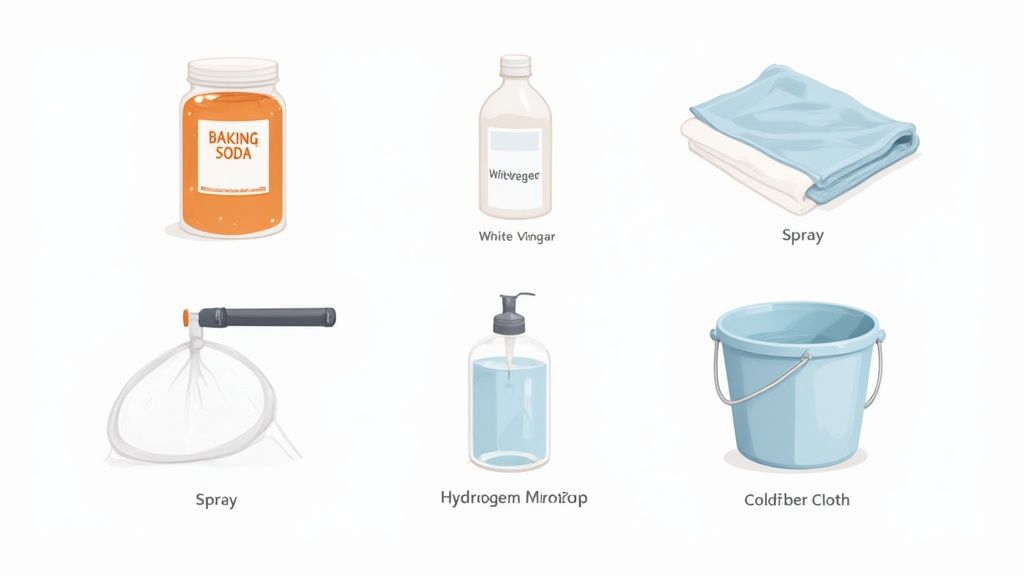
Here’s a quick rundown of the essentials for tackling almost any mattress cleaning job.
- Baking Soda: The absolute MVP for deodorising. It works wonders by absorbing moisture and neutralising odours naturally, with no harsh chemicals required.
- A Vacuum Cleaner: You’ll need one with an upholstery attachment. This is essential for getting deep into the seams and lifting away dust and dead skin.
- Microfibre Cloths: Grab a few clean, dry cloths. They're perfect for blotting up spills and applying cleaning solutions without leaving lint behind.
- Mild Laundry Detergent: A simple, clear detergent mixed with a bit of cold water is your go-to for light spot cleaning.
For tougher stains, a bit of white vinegar or a 3% hydrogen peroxide solution can be your secret weapon. But a word of caution: always test any solution on a small, hidden area first to make sure it doesn’t discolour the fabric.
I've put together a quick-reference table to help you gather your supplies. Think of it as your pre-cleaning checklist.
Your Mattress Cleaning Arsenal
| Tool or Ingredient | Primary Use | Pro Tip |
|---|---|---|
| Vacuum Cleaner | Removing surface dust, hair, and debris | The upholstery brush is your best tool for getting into crevices and seams. |
| Baking Soda | Deodorising and absorbing moisture | Sprinkle a generous layer and let it sit for several hours for maximum effect. |
| Microfibre Cloths | Blotting spills and applying solutions | Have at least two on hand—one for applying cleaner, one for blotting dry. |
| Spray Bottle | Applying cleaning solutions evenly | Mist, don't soak! You never want to drench your mattress fabric. |
| White Vinegar | Tackling tougher organic stains | Mix a 50/50 solution with water. The smell fades as it dries. |
| Gentle Detergent | General spot cleaning | Choose a clear, enzyme-free detergent to avoid leaving residue or stains. |
With these items ready, you're well-equipped to handle spills, stains, and general freshening up without any last-minute hassle.
After all that hard work, protect your beautifully clean mattress. Dressing it in high-quality, breathable bedding like a Tencel bed sheet set not only feels luxurious but also helps keep it fresh for longer.
The Simple Method for a Deep Mattress Clean
Right, with your cleaning kit assembled, it's time to get started. Don't worry, this isn't a complex, all-day chore. I'll walk you through a simple, step-by-step process that works wonders, breaking the job down into easy, manageable chunks.
First up, strip everything off the bed—sheets, duvet, pillowcases, and the mattress protector. Get them in the wash now so they'll be fresh and ready to go back on later.
Getting the Surface Prepped
With the mattress bare, grab your vacuum. The upholstery attachment is your best friend here, designed to get right into all the nooks and crannies.
Work your way across the entire top surface in a methodical pattern, like mowing a lawn. Pay extra attention to the seams and any quilted areas, as this is where dust mites, dead skin, and other debris love to hide.
Don't forget the sides! Give them a good vacuum too. If you have someone to help and it's safe to do so, flip the mattress and repeat the whole process on the other side. A thorough vacuum is the foundation of a proper deep clean.
This quick visual guide breaks down the whole process for you.
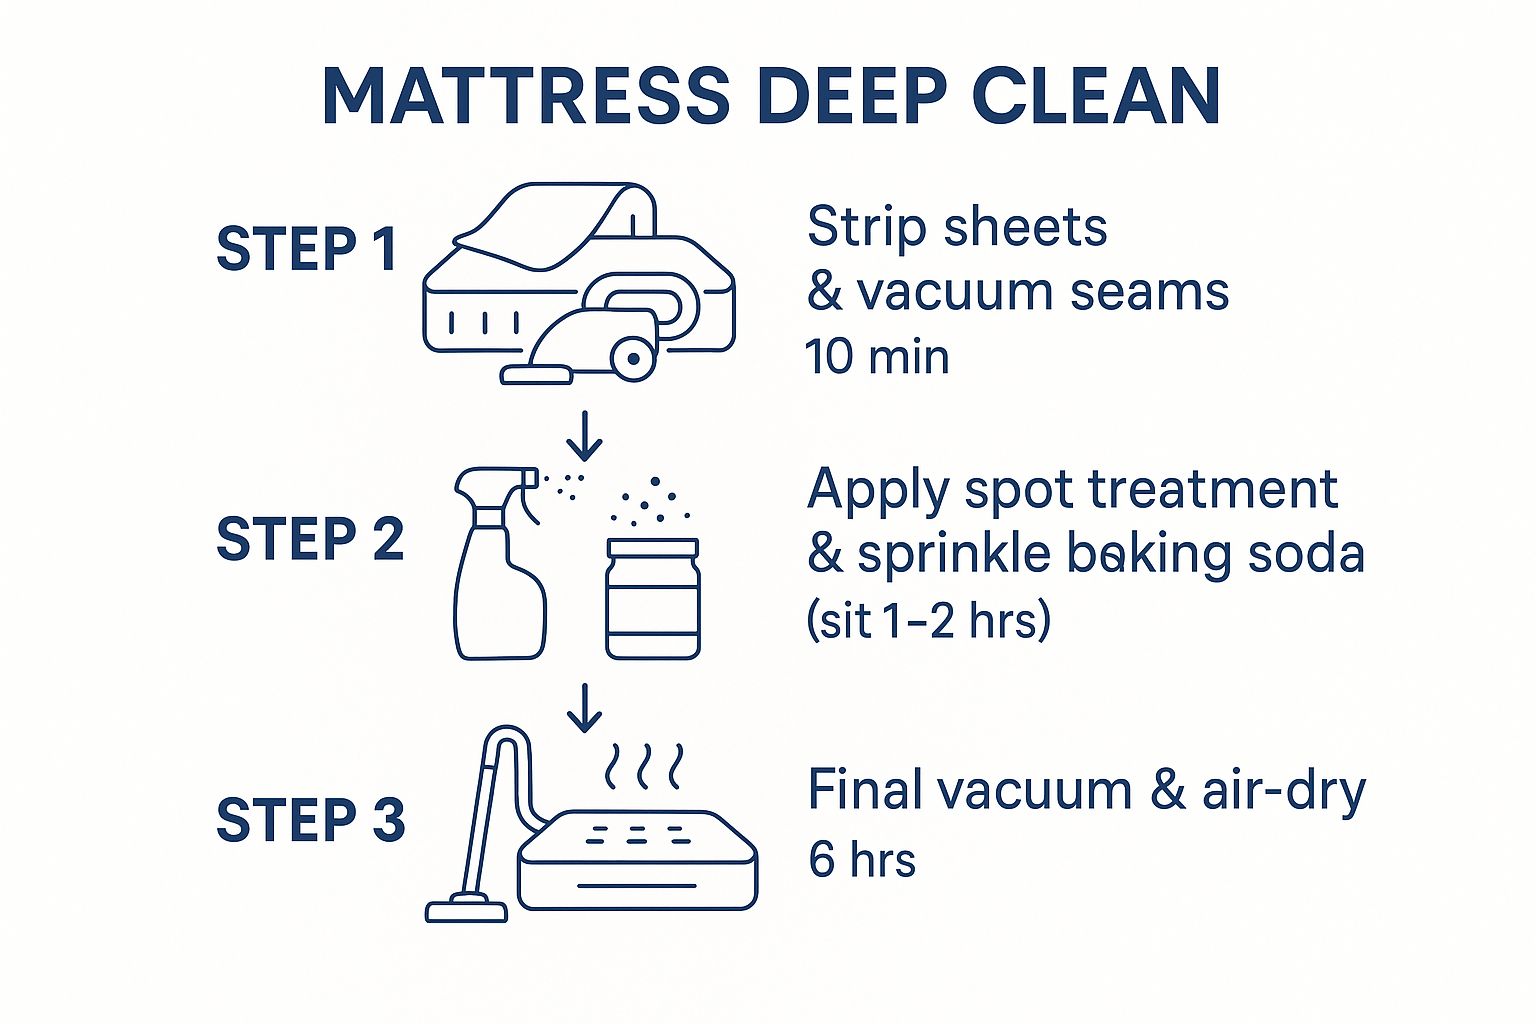
As you can see, the "active" work is surprisingly short. Most of the time is just letting the cleaning agents and fresh air do their thing.
Dealing with Stains and Smells
With the surface dust gone, it’s time to zero in on any problem spots. Scan the mattress for any stains or discoloured patches.
For any marks you find, lightly spritz them with your mild detergent solution. The key word here is lightly—you never want to saturate the fabric. Gently blot the stain with a clean cloth, working from the outside in to stop it from spreading.
Once the spot treatment is done, it's baking soda time. Sprinkle a generous layer over the entire mattress surface. Don't be shy! This is what will pull out moisture and neutralise any lingering odours.
Pro Tip: Let the baking soda sit for at least a few hours. Honestly, if you can leave it on overnight, you'll get the best results. The longer it sits, the more it absorbs.
After the baking soda has worked its magic, give the mattress one final, thorough vacuum to suck it all up.
The last step is crucial: let it air-dry completely. Open the windows, get a fan going, and let the air circulate. A damp mattress is a recipe for mildew, so patience is key here.
If you notice any significant damage during your clean that seems beyond a simple fix, it might be worth checking your warranty. You can find more information on how to claim your warranty for a professional assessment.
How to Tackle Stubborn Stains and Odours
Let's be real: sometimes a general clean just won't cut it. Life happens, and mattresses often get a front-row seat—whether it's a spilt morning coffee, a pet accident, or a leaky pen. When a serious mess occurs, you need to switch gears.
The secret to successful stain removal is a two-part punch: act fast and use the right tool for the job. Different stains demand different treatments, so a one-size-fits-all spray won’t work on the really tough marks.
Your Go-To Stain Removal Recipes
Before applying any cleaner, the first rule is to blot, never rub. Rubbing a fresh spill just grinds it deeper into the mattress fibres, making your job ten times harder. Grab a clean, dry cloth and gently dab the spot to soak up as much liquid as possible.
Here are a few tried-and-true homemade solutions for common mattress messes:
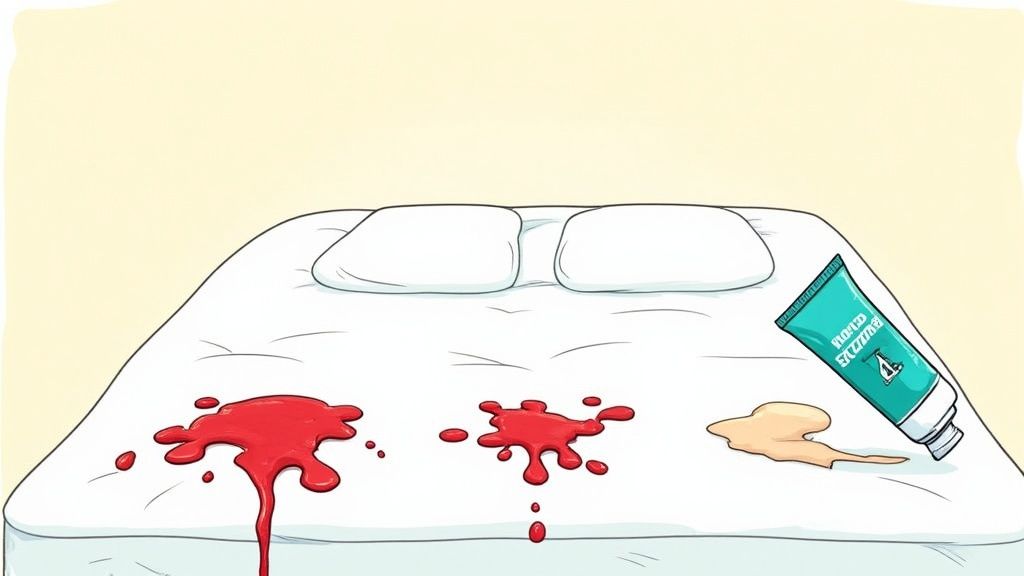
- Protein Stains (blood, sweat, urine): These need an enzyme cleaner to break them down properly. If you don't have one, a paste of equal parts 3% hydrogen peroxide, liquid dish soap, and baking soda works wonders. Spread it on, let it dry completely, then scrape off the residue and vacuum.
- Greasy Food Stains: For oily marks, immediately sprinkle baking soda or cornflour directly onto the stain. Let it sit for about 30 minutes to absorb the grease, then vacuum it up. If a mark remains, tackle it with a 50/50 mix of white vinegar and water.
- Drink Spills (coffee, juice): A simple mix of two parts cold water to one part white vinegar is perfect for this. Lightly spritz the area and keep blotting with a fresh cloth until you see the stain lifting away.
The golden rule for protein-based stains like blood is to always use cold water. Hot water can 'cook' the protein, setting the stain permanently.
Deodorising Beyond the Basics
What about those really persistent smells? Mildew from a damp room or a lingering pet odour can be stubborn, and a simple sprinkle of baking soda might not be enough.
After cleaning the source of the smell, you might need to bring out the big guns. A spray bottle with a 50/50 solution of white vinegar and water is fantastic for neutralising stubborn odours.
Just give the mattress a light mist—don't soak it—and let it air dry completely, preferably near an open window. The vinegar smell disappears as it dries, taking the unpleasant smells with it. It’s the perfect final step to get your mattress smelling as fresh as it looks.
Keeping Your Mattress Fresh for the Long Haul
While a deep clean gives your mattress a fresh start, the real secret to its longevity is consistent, simple habits. Staying on top of maintenance is far easier than dealing with a major stain or odour down the track, and it keeps your sleeping space healthy all year round.
Building a small maintenance routine is all about preventing the buildup of dust, allergens, and moisture. This doesn't have to be a big chore; a few small tasks can make a massive difference.
Your Simple Maintenance Schedule
The best strategy is to get into a rhythm with your mattress care. You don't have to overthink it—just a few key tasks.
- Weekly: Every time you change your sheets, give your mattress some breathing room. Leaving it bare for an hour or so lets any built-up moisture evaporate.
- Monthly: Grab your vacuum and run the upholstery attachment over the entire surface. This quick once-over is brilliant for sucking up dust, crumbs, and dead skin cells before they build up.
- Seasonally: To prevent body impressions from forming, rotate your mattress head-to-foot every three months. This ensures it wears evenly over time.
If you do only one thing for your mattress, make it this: get a high-quality protector. It's your first line of defence against spills, sweat, and allergens, and makes keeping the mattress itself clean incredibly simple.
Investing in a good, waterproof mattress protector is easily the smartest move to safeguard your bed from life's little accidents.
There's a growing awareness around home hygiene, reflected in the demand for professional services. The cleaning services market in our region, which includes mattress cleaning, was valued at a huge USD 13.52 billion in 2024 and is only expected to climb. You can read more about this trend towards professional cleaning services if you're interested.
Common Questions About Cleaning a Mattress
Even with a good guide, cleaning a mattress can bring up a few questions. It’s not something we do every week, so it's normal to want to get it right. Let's tackle some of the most common queries we get.
How Often Should I Clean My Mattress?
As a rule of thumb, give your mattress a thorough vacuum every couple of months. It’s a simple job that makes a huge difference in keeping dust and allergens from building up.
For a proper deep clean—spot-treating, deodorising, the works—aim for about twice a year. Think of it as a seasonal refresh for your sleep space. Of course, if you have allergies or share your bed with a furry family member, you might want to do this more often, perhaps every three or four months, to keep everything fresh.
Is Using a Steam Cleaner a Good Idea?
This is a tricky one. On the surface, steam cleaning sounds perfect—the high heat is great for killing dust mites and bacteria. The major problem, however, is moisture. Mattresses are incredibly thick, and if all that steam doesn’t dry out completely, you could create a perfect breeding ground for mould and mildew deep inside.
If you're set on using a steam cleaner, you have to be incredibly careful. Ventilation is your best friend. Get the windows wide open and point a fan directly at the mattress to help it dry as quickly and thoroughly as possible.
What’s the Best Way to Dry a Mattress?
Patience is the most important tool here. Air-drying is always the safest method. After spot-cleaning a spill, grab a clean, dry towel and blot the area firmly to soak up as much liquid as you can.
After that, let the air do the work. Leave the mattress completely bare in a room with good airflow. Opening a window or setting up a fan will speed things up nicely. If you can position it to get some direct sunlight for a few hours, even better—the UV rays are a great natural sanitiser. Just remember the golden rule: never remake the bed until it’s bone dry to the touch.
Have more questions? You can find plenty of extra tips over on our full mattress FAQs page.
A clean mattress is the foundation of a great night's sleep. If yours has seen better days, the experts at New Zealand Bed Company are here to help you find the perfect replacement for truly restorative rest. Explore our range at https://nzbeds.co.nz.
Article created using Outrank